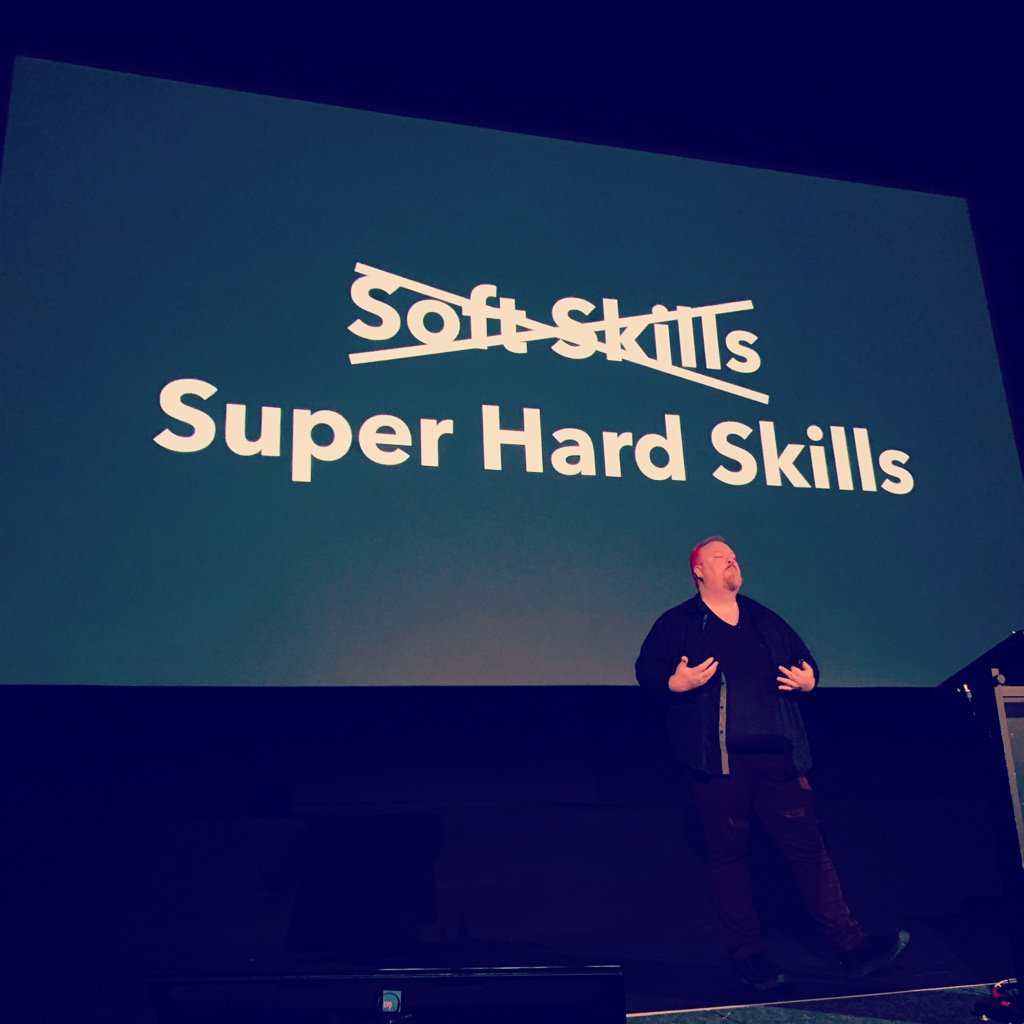
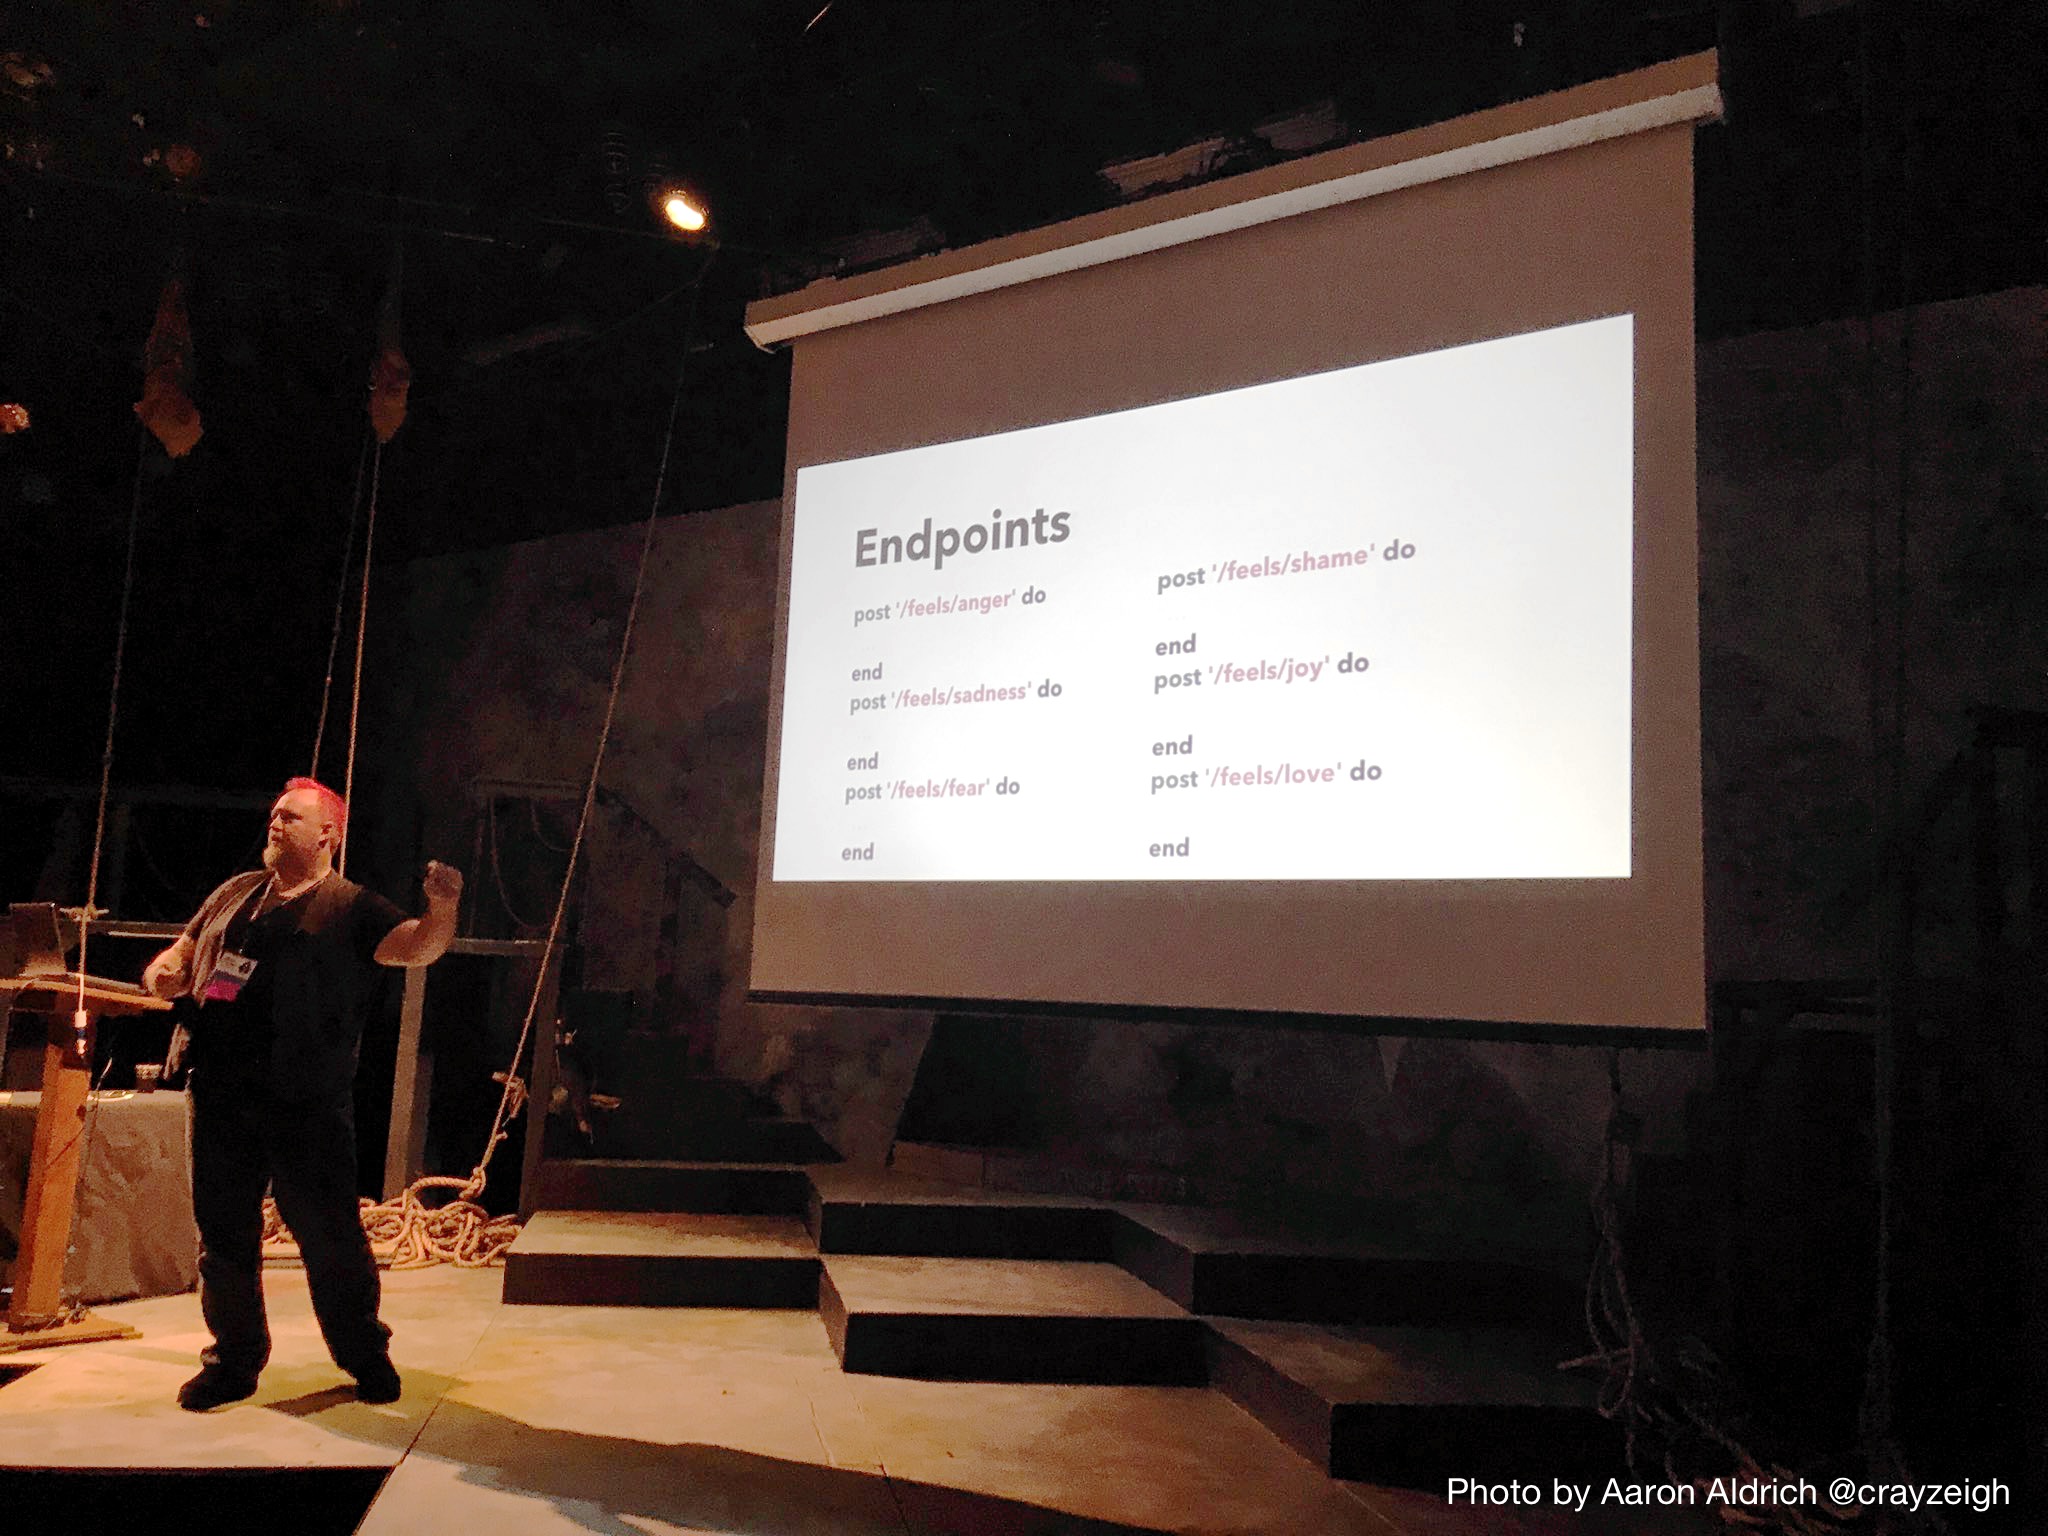
Image Uploads to AWS S3 using Rails 3, Paperclip and PLUpload

For the Invest Your Heart project, I’ve been working on getting image uploads perfected. That’s easy enough with the Paperclip gem. But storing uploads on your Heroku dyno isn’t a good idea, so I wanted to use S3. Oh and throw in upload previews, resizing and a progress bar.

I managed to get it all working, though it took a lot because there are so many moving parts. I’m using the PLUpload code to provide uploads and progress var interface and Paperclip for resizing. And I’m uploading directly to S3, to avoid timeouts on Heroku when large files are uploaded. After the initial upload, Paperclip actually downloads the image, processes it, and uploads the different resized versions back to S3.

I couldn’t have done it without these two incredibly helpful sites: The Rails-S3-Plupload demo project, and Swarut’s post. Thanks guys! I would never have gotten it working without you.

Swarut also turned me on to the Gon gem which provides a simple way to send data from your controllers and JS variables. Very handy for when your app doesn’t need something like Backbone.js

StartupBus Status Update: Invest Your Heart

I’ve been so busy hacking and hustling that I haven;t had much any time to update here, but after a day and a half, we’ve made great progress.

We have a four person team building Invest Your Heart.

InvestYourHeart is a collaborative social change investment platform for people who believe:

What’s in your heart is just as valuable as what’s in your wallet.
InvestYourHeart creates an opportunity for heartful, conscious, intentional giving to causes you care about.  Each time you invest, you’ll be invited to share what’s in your heart while you’re making the investment by creating a “heartspace”.  These “heartspaces” will be visually displayed on the landing page, and contributors will be able to offer them as virtual gifts to friends and family by designating a contribution in their honor.

We’re all in this together.
Instead of initiating separate, independent fundraising & social action campaigns for each project on the site, instead, we’ll mount themed campaigns in which like-minded nonprofits may participate as affiliates.   By collaborating common campaigns, we can achieve critical mass that attracts more visibility and resources to all participating projects.

Funding is just the beginning.
So often, crowdfunding sites encourage attention to a project ony until it’s been funded.  At InvestYourHeart, we know funding is only the beginning, and we know people who have invested their hearts in your efforts are interested in more than seeing a fundraising goal met.  We provide unique opportunities to interact online with the people & communities that are transformed through our collaborative investments and provide ongoing updates so you can see the love you’ve manifested in the world, not just the money you’ve helped to raise.

As expected, we have a Facebook Page and twitter account set up.

All aboard the StartupBus

I’ve decided to break out of some ruts and join the StartupBus (@startupbusfl), a 3 day moving hackathon on a bus to Austin, TX for South by Southwest Interactive (SxSWi).

I’ll be posting a whole lot more about it as I go along, so I’ll start here with just the list of things that I’m packing to bring along (aside form the obvious tech):

  1. Sketchpad
  2. Dry-erase markers
  3. Post-its
  4. Headphones
  5. My Ideas To Pitch
  6. Luna Bars
  7. MyPressi Portable Espresso Machine
  8. Upgraded Coffee
  9. 100GB of music
  10. Pre-built Rails application skeleton (I’ll tell you about that in another post. soon!)

Mini Upgrade

image by 'smee' at Apple InsiderThanks to this tutorial, I was able to upgrade my Mac Mini media server to 3GB of RAM. That allowed me to upgrade it to Mac OS X Lion as well (it only had 1GB before, and Lion requires 2GB). That’s made quite an improvement in file sharing responsiveness. If you recall, even on Snow Leopard, it could take 30 seconds to connect to a server. Initially, I had tried to use the DIMMs left over form my MacBook Pro upgrade (to 8GB), but they were too advanced. Luckily, I had an old white MacBook in the closet with a bad motherboard which happened to have matching DIMMs, so I was able to complete the upgrade.

Pow and WordPress on the same machine

While developing the InnerLightTools application on my local machine, I’m using the Pow web/rack server. It’s a great way to run rails apps locally. At the same time I’m working on WordPress development locally as well, and for that I need Apache. By default Pow runs on port 80, just like Apache, so I couldn’t do both at the same time. Initially I set Apache to run on a different port, but discovered the WordPress Multisite won’t run on ports other than 80 and 443. So, I found the Pow configuration page contained information about setting Pow to run on an alternate port. It’s pretty simple, just add

export POW_DST_PORT=<any port num>

to your ~/.powconfig file and restart. My Pow is finicky, so I often have to reinstall it to get things to work properly. Fortunatley that’s trivial with the Powder gem.